
Halloween is over, but this project is still going. It is an attempt to build the K-9 robot dog from Doctor Who. This was a fun project and proper accessory to my 4th Doctor Costume.
The intent was to build a novel candy bucket by Halloween and to expand it to do so much more. I will reveal its fate at the end, but for now, check out the construction shots.

The skateboard: Why? Because it is just wood and wheels at this point. The problem (I realized later) is that the skateboard wasn't square. It was an inch too long on one side.


The skeleton: Framework complete. The angle on the back is an accident. I started making the second level too short and had to re-cut new pieces. The top was already built to fit so I used the too short pieces from the front (which were already cut at the correct angle) and reversed them. Then the top fit without hassle.

The skinning is beginning. I cut the panels roughly to size and nailed them on. Then I trimmed the panels with an oscillating saw and nailed the entire panel on.

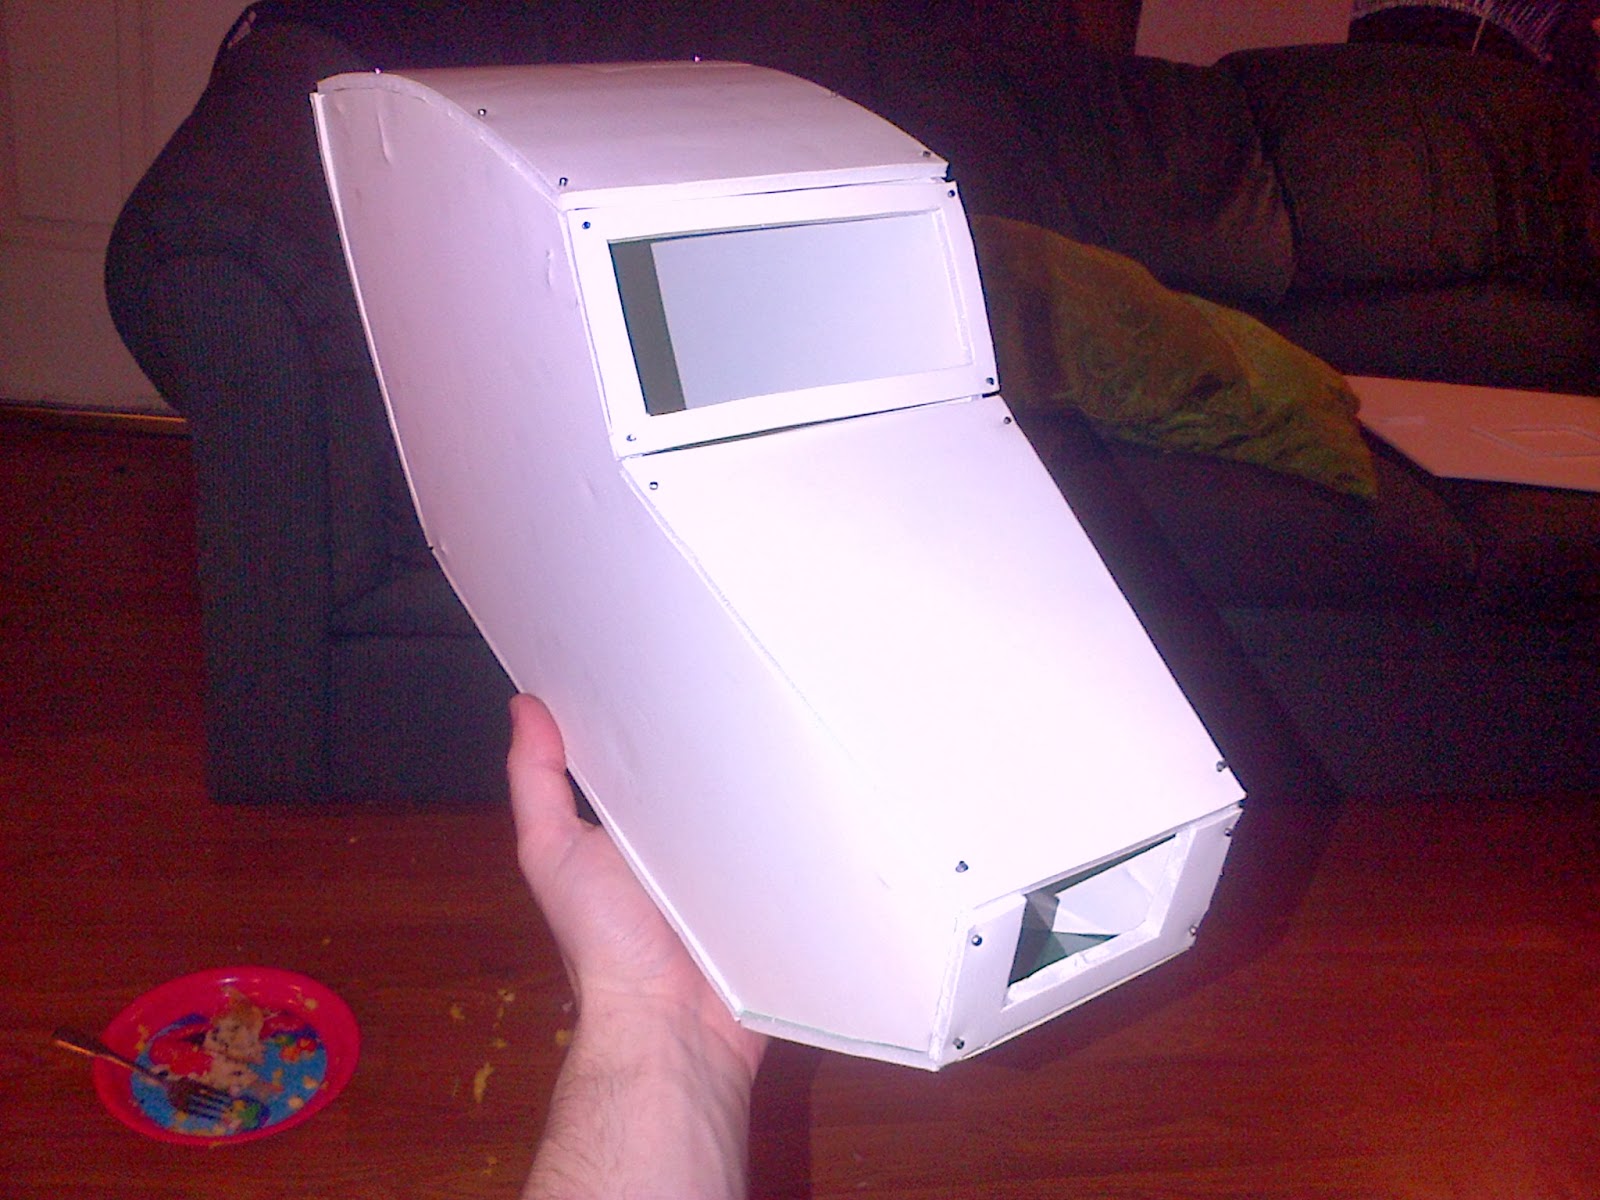
Skinning nearly complete. I was using finishing nails to skin the unit but it wasn't looking like I wanted.

Grabbed some roofing nails to cover or replace the finishing nails to look like rivets (which are non-canon). Finished the 4th side, then did a 2nd paint test on the front to get an idea of how many coats it might take to get it looking the way I want.

Wood fill has begun. Only took one tube of filler to fill the joints. Sanded between each of the 2 applications and is starting to look better.

Achievement unlocked: paint applied. 2 cans.

I got partly a head. The foam won't go straight to his brain though, the foamboard is just a mock-up to get the other measurements.

Talk about upping the difficulty level, 3 pieces need to be recut. I tried to pin nail it, carpet nails, and finally I just screwed it together. It was the only thing that held.

Head built. Next cut-outs, hinges, lights, nose, wood putty, primer and paint. Then eyes, neck, and control panel.

Wood putty phase.

Head shot with paint.

How close am I? Ears are on, eyes light up in 3 modes, and the head is finally attached!

K-9 no longer topless.

Control panel assembled. Once I connect it to power the switches will light up. All of the switches are completely functional as well.

K-9 fully assembled. Neck tightened and welded. Panel lights wired. 2 buttons work. One for the eyes and one for the panel lights.

Wiring start inside head.

Beginning wiring panel. Note the eyes' light box below and panel light wire above.

Built a small battery to test the light wiring. Test was successful, but 12 lights wired in parallel created too much amp draw on the little battery and burned the 8 cells and battery holder up.
K-9 was taken out on Halloween but did not survive the trip in the car. The neck broke and needs some shortening and straightening. The entire project needs much refining and correction. It was never intended to be completely canon to the original prop. This was intended more as an assistant at a convention.
The robotic parts and sound controls still need to be bought and wired up. This is a project that may never end. More to come.
MR GB
No comments:
Post a Comment